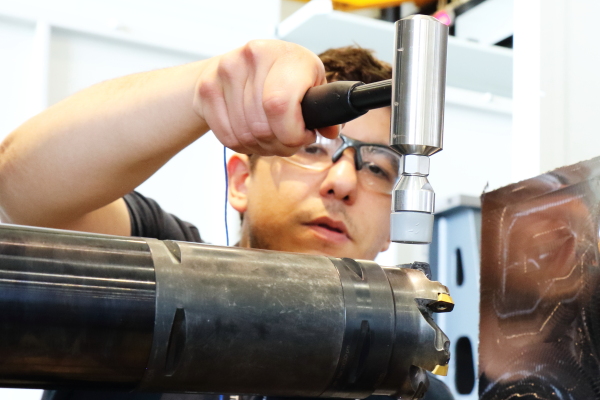
Stability is the key to more productive machining. Carl Hitchens and Ozan Gurdal of the Nuclear AMRC’s machining group explain how tap testing can help you cut the chatter.
As any good machinist knows, every machine has its sweet spot – a region of stable cutting parameters where you can achieve the highest quality and productivity.
If your machining is not stable and vibrations start to build, you can quickly find yourself with poor surface finish, reduced metal removal rate, and unpredictable tool failure – all of which cost time and money.
Trying to find this region of stability by trial and error can be difficult and expensive. Stability depends on a host of factors, including the machine’s stiffness, the tooling you use, speeds and feeds, and the workpiece set-up. With all these factors at play, reaching optimal metal removal rates is frequently not possible, especially if you’re involved in low-volume manufacture under tight deadlines.
Often, when vibration starts to build, the standard response is to avoid its adverse effects by reducing the cutting speed or feed, and therefore the material removal rate and productivity.
As often happens with unbalanced wheels on cars, vibrations manifest and increase as the speed increases – but if you accelerate to an even higher speed, stability can return and vibrations reduce.
The same effect applies to machining parameters. If you can find the next region of stability by going faster, you will also increase your material removal rate and productivity.
There is a technology available to find these regions of stability, called tap testing.

Tap testing involves creating an excitation by means of applying an impact force of different magnitudes to create a vibration which can then be measured with accelerometers and analysed – in other words, we hit it with different sized hammers, in a scientific way.
This allows you to improve the utilisation of your machines, move away from the conventional and conservative approach to machining, and start accessing the full capabilities of the machine to work at the upper limits of their performance envelope.
Tap testing does require a skilled engineer to use effectively, which can make it challenging to use in a high-pressure manufacturing environment. At the Nuclear AMRC, we have the technology and people to do this analysis, and we are here to help companies overcome such manufacturing challenges.
The video below shows the performance improvements that can be achieved with tap testing, in this case when milling an aluminium alloy on one of our smaller machine tools. In this case, spindle speed limitations meant that we had to slow down to achieve a sweet spot, but still achieved a much more efficient process.
We are also working to develop the capabilities of tap testing technology, to make it more deployable in a real manufacturing environment.
In the longer term, we want to move the technology towards predictive stability. Where we understand the harmonics of the machine, we can build a physics-based digital twin of the machine and a wide range of tooling configurations. We can then deliver the opportunity to predict these zones of stability, and see a greater adoption of this technology in industry.
- To find out more about tap testing, contact Ozan Gurdal: ozan.gurdal@namrc.co.uk


